It’s time to chill
with Restorative Yoga
WHAT IS RESTORATIVE YOGA ANYWAY?
Emma explains:
Restorative Yoga is yoga is not yoga for the body per-se, but for the nervous system. When the pace of life is fast, our minds move fast too, and when we are also attracted exclusively to strong, fast-moving fitness and movement practices, we can easily overstimulate ourselves — and our nervous system bears the brunt. We may end up compounding our stress-related symptoms, feeling easily overwhelmed and even more tired.
A typical Restorative Yoga sequence usually only contains a few poses and you hold each one for anywhere from 5 to 20 minutes. Instead of actively stretching your muscles (like in Yin Yoga classes), you use props — blankets, straps, blocks and bolsters; or whatever you have to hand! — to support your weight and allow your muscles to fully relax and release. We do this because stretching is an irritant to the nervous system, so if our muscles are even a little bit engaged then our nervous system is aroused, and we want the opposite; to enter parasympathetic response and find deep rest and relaxation. Then we simply lie there not doing anything; just being. Something many of us feel too guilty or stressed out to do on our own.
All the organ systems of the body are benefited during deep relaxation and stress-related symptoms fade away. It can lower blood pressure, improve immune function and digestion, as well as reduce muscle tension and general fatigue, and over time you will also notice that the mind quietens to match the body.
Many people find Restorative Yoga challenging, not physically, but mentally. They notice that their mind runs on despite their body being still and often think the practice is the reason. If that’s you; I encourage you to persevere. It is not the practice that is causing your busy mind; however the practice is allowing you the space and clarity to see the present moment as it actually is - busy mind and all - and that’s something we rarely allow ourselves to do.
TRY THIS SEQUENCE:
1 - LEGS UP THE WALL | 5-10 mins
Exactly what it says on the tin! Shuffle your bum up against the wall (with a pillow or bolster under the hips) and pop those legs against the wall. Make any adjustments to facilitate a more relaxing space-- maybe place a pillow under your head, or let your arms rest on your belly or out to the sides. Remember, the aim is to be as comfortable as possible so (as with all poses) don’t stay in this pose if it’s uncomfortable or causing any discomfort.
(A) Shows an alternative you could explore if having the legs straight doesn’t feel good for you.
2 - SUPPORTED CHILD’S POSE | 10-20 mins
This one can take a little bit of faffing to get comfortable, but bear with it if you can! If you don’t have a bolster at home you can fashion one out of rolled-up duvets or blankets, or a foam-roller covered by a pillow or two. Prop one end up on something - blocks if you have them, or a stack of books works just as well - to approx. a 45degree angle. Pop your knees either side and allow yourself to slump forward until your torso is resting on the bolster. You can add lots of extras to be more comfortable; try a rolled up blanket under the tops of the feet, stack up some support under the bum, fold a blanket under the knees, try a pillow under the chest or head - whatever works for you!
3 - SUPPORTED RECLINED GODDESS POSE | 20 mins +
You can use most the same set-up as the previous pose, just turn around and face away from the props. Shuffle your bum close to the end of the bolster that’s on the floor, and then allow yourself to trust in your prop-stacking-ability by gradually reclining along the length of the bolster. Bring the soles of the feet together and stick something under the knees so the legs and hips can fully relax. Again, support yourself any way that feels appropriate - an extra pillow under the head, props under the elbows, raise the bum a little higher off the floor by sitting on a folded blanket (or two) to relieve any lower-back discomfort.
(B) Shows the best way to support your hips in this pose - remember we don’t want to feel a stretch in the hips or inner legs here, so prop those knees up!
TIPS FOR MORE RELAXATION
STAY WARM - (C) Wear warm clothes and cover yourself with a blanket (or two). The body won’t relax fully if it’s cold!
COVER THE EYES - (D) There are multiple reasons for this; firstly to block out any light so the eyes can soften, but also the gentle weight on the eyes and forehead can help to stimulate those relaxation hormones via the vagus nerve. If you have a weighted eye pillow that’s great, but if not just use a towel or a sleepmask.
TUCK YOUR CHIN - Gently tucking your chin brings the neck into better alignment helping to facilitate a deeper relaxation.
CHEAT SHEET - If you only have 20mins, take “reclined goddess” pose and stay there for the WHOLE TIME. Trust me.
LET US KNOW HOW YOU GET ON? POST YOUR PICS AND TAG @HONOROAKWELLNESSROOMS & @EMMABUNNYOGA
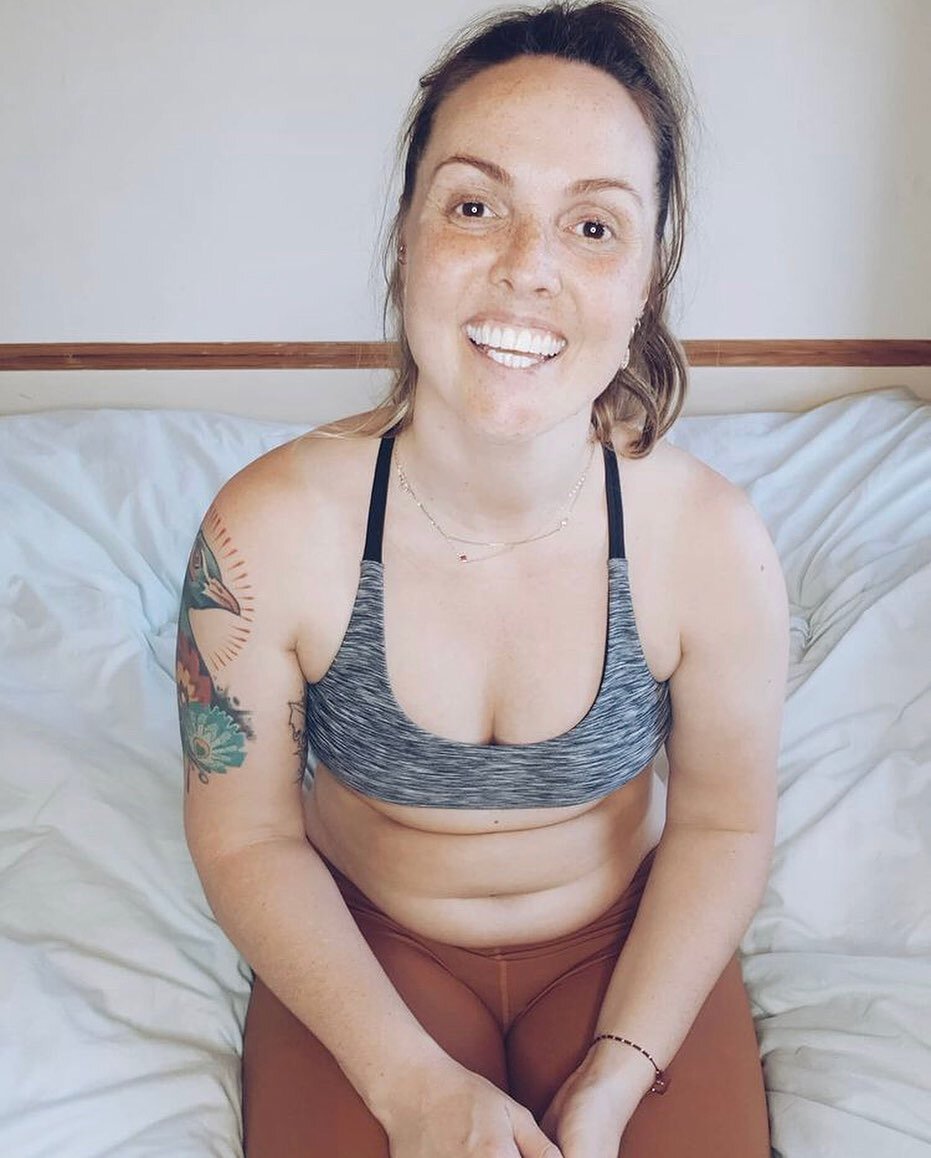
“Hello, I’m Emma! I have a very keen interest in Mindfulness; it’s applications in managing stress and it’s scientifically proven effects on the brain. I came to it as a way of managing my own mental health and have never looked back!
I am trained to a foundation-degree level with Mindfulness UK, and am accredited with CPCAB (the Counselling and Psychotherapy Central Awarding Body) to offer one-to-one and group sessions in Mindfulness and Self Compassion. As well as offering Mindfulness as a stand-alone intervention, I also weave Mindfulness-based techniques into my yoga classes.
I credit Yoga and Mindfulness with many things, but predominantly for positively changing the relationship I have with my body and enabling me to move through my life with a clearer mind. Through teaching I hope to help others to find that same connection with themselves, and I ALWAYS advocate for inclusivity, self-inquiry, curiosity, and compassion.”